Tailored technology solutions for events, tradeshows, experiential marketing, and more—designed for smooth execution and backed by expert support team.
Tailored technology solutions for events, tradeshows, experiential marketing, and more—designed for smooth execution and backed by expert support team.
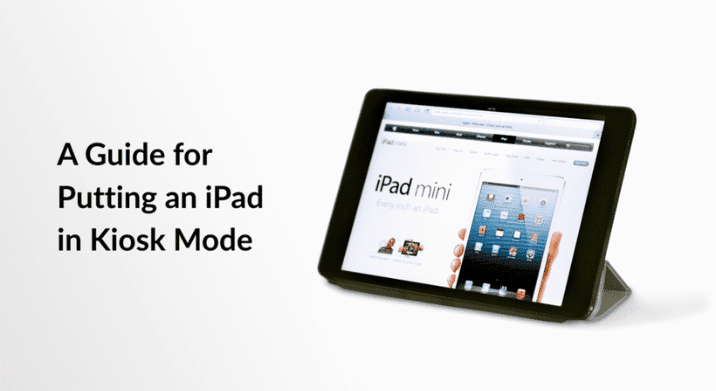
Guest lists, badge printing, last-minute RSVPs…event check-in can get chaotic fast. An iPad in kiosk mode solves this. It locks the device to a single app, keeps guests moving through the line, and gives your event a professional edge from the moment people walk in.
Whether you’re running a corporate conference, fundraiser, or product launch, setting up an iPad for business use as a check-in kiosk streamlines the process and reduces wait times. Here’s how to put an iPad in kiosk mode and make check-in the smoothest part of your event.
Why iPad Kiosk Mode Works for Events
iPads are portable, intuitive, and most people already know how to use them. When you put an iPad in kiosk mode, you’re locking it to a single check-in app, which means no accidental exits, no notifications, and no distractions. Guests tap in, get their badge, and move on.
Compared to paper lists or clunky laptop setups, iPads offer:
Speed: Faster check-ins mean shorter lines and happier attendees.
Real-time syncing: Multiple kiosks can pull from the same guest list, updating instantly.
Professional presentation: A sleek iPad on a stand looks polished and modern.
Flexibility: Move your kiosk anywhere, from registration tables and outdoor venues to breakout rooms.
For event planners juggling tight schedules and high expectations, iPad kiosk mode delivers exactly what you need: a solution that just works.
The app you choose determines how smooth your check-in runs. Look for features like QR code scanning, offline functionality, and badge printing integration. Some solid options include:
Onsite by EventMobi: QR code scanning, works offline, customizable badges.
Splash Host: Budget-friendly, supports bulk badge printing and walk-ins.
Check-In by Social Tables: Scalable for large events with table assignments and analytics.
Event Check-In (EventFarm): Free plan available, supports QR codes and attendee communication.
Make sure to test the app before the event day. Load your guest list, run through a few mock check-ins, and confirm it syncs properly. The last thing you need is a tech hiccup when your first wave of guests arrives.
When you use eTech Rentals as your iPad rental partner, our team will download the apps you need before the event, so you have one less thing to do on the big day.
Step 2: Get a Kiosk Stand
A stand isn’t just about looks. It keeps the iPad secure, stable, and at the right height for guests. Here’s what matters:
Adjustability: Height and tilt should accommodate guests of different heights.
Stability: High-traffic areas need a stand that won’t tip over.
Security: Locking mechanisms prevent theft or tampering.
Match the stand to your event’s vibe. A polished metal stand works for corporate events. Something minimalist fits tech conferences. Fundraisers might call for a sleeker design.
Step 3: Handle Power Before It Becomes a Problem
An iPad dying mid-event is avoidable. Plan ahead:
Keep it plugged in: Set up your kiosk near power outlets. Most stands have hidden cable routing to keep things clean.
Use power banks: For outdoor venues or spaces without nearby outlets, bring high-capacity power banks with USB-C for faster charging.
Portable power stations: These keep your check-in kiosks running no matter where you set up.
Backup chargers: Always have extra cables and adapters on hand.
Enable Low Power Mode on the iPad to stretch battery life without sacrificing performance. Go to Settings > Battery > Low Power Mode and toggle it on.
Step 4: Put iPad in Kiosk Mode
This is where you lock the iPad to your check-in app so guests can’t accidentally (or intentionally) navigate away. Here’s how to put an iPad in kiosk mode using Guided Access:
Open Settings on the iPad.
Go to Accessibility > Guided Access.
Toggle Guided Access on.
Tap Passcode Settings and set a passcode you’ll remember.
Open your check-in app.
Triple-click the Home button (or Side button on newer iPads).
Tap Start in the top right corner.
The iPad is now locked to that app. Guests can use it, but they can’t exit, switch apps, or mess with settings. To exit kiosk mode, triple-click the Home or Side button again and enter your passcode.
Step 5: Optimize iPad Settings for Check-In
A few quick tweaks make the iPad kiosk mode experience smoother:
Turn off notifications: Go to Settings > Notifications and disable alerts for all unnecessary apps. The last thing you need is a text message popping up mid-check-in.
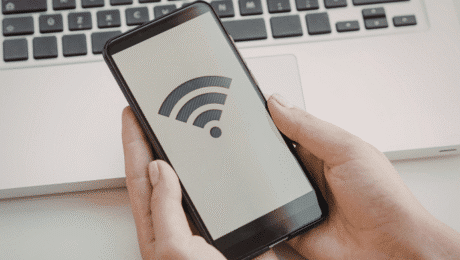
Set up Wi-Fi: Ensure a stable connection for syncing guest data. If your venue’s Wi-Fi is unreliable, bring a mobile hotspot as backup.
Adjust brightness: Lower it to save power, but keep it bright enough for guests to read the screen easily.
Disable auto-lock: Go to Settings > Display & Brightness > Auto-Lock and set it to “Never.” You don’t want the screen to go dark during check-in.
Step 6: Test Everything Before Event Day
Run a full test setup before guests arrive. Check for:
App functionality: Test QR code scanning, manual check-in, and badge printing.
Power endurance: Simulate a full day of check-ins to confirm battery performance.
Guest flow: Set up the kiosk in a layout similar to your event and see how easily people navigate it.
Involve your team in testing: They’ll catch usability issues you might miss.
Make It Look Good
Your check-in kiosk is the first thing guests interact with at your event. Make it count:
Brand customization: Most check-in apps let you add your logo and event colors to the interface.
Welcome message: Use the app or iPad wallpaper to display a greeting.
Keep it clean: Place hand sanitizer nearby. Guests appreciate it, and it keeps the screen cleaner.
Want to skip the hassle of setup and customization? eTech Rentals can deliver branded, ready-to-use iPad check-in kiosks. Prevent delays by letting our team handle what we do best. Explore how eTech Rentals helped an event at PROSE West Hollywood leverage strategically placed iPads with custom apps to create a premium, interactive experience for guests.
Even with solid prep, issues can pop up. Here’s how to handle them:
Wi-Fi drops: Have a mobile hotspot ready as backup. Some apps offer offline modes that sync data later.
Forgotten passcode: Keep your Guided Access passcode noted somewhere accessible but secure.
Frozen screen: Restart the iPad by holding the power and volume buttons simultaneously.
Guests can’t figure out the interface: Have a team member nearby to assist during the first 30 minutes of check-in.
Why Rent iPads from eTech
Setting up an iPad for business use as a check-in kiosk is straightforward, but sourcing the gear, configuring it, and ensuring everything works flawlessly can take time you might not have. That’s where we come in.
At eTech Rentals, we deliver iPads tested, configured, and ready to go. Need kiosk stands, power banks, or mobile hotspots? We’ve got those too. Our team handles the logistics so you can focus on running your event.
We don’t just drop off gear and disappear. Need help setting up iPad kiosk mode on-site? We’re there. Run into a last-minute issue? We’re on it. With more than 100 years of combined experience, we’ve seen it all, and we make sure your tech works exactly as it should.
Get Your Event Tech Ready
Turning an iPad into a check-in kiosk eliminates chaos at registration. With kiosk mode iPad enabled, the right app, and solid power planning, you’ll create a seamless check-in experience that sets the tone for a successful event.
Need iPads, stands, or full check-in setups for your next event? We’re ready when you are. Contact eTech Rentals today and let’s make check-in the easiest part of your event.
Planning a successful outdoor event takes more preparation than most people expect. Unlike indoor venues, outdoor spaces come with variables you cannot fully control: weather, power access, connectivity, permits, and logistics that all need to…
Connectivity is no longer optional at events. Whether you’re processing ticket scans, running a live stream, powering registration kiosks, or keeping a production team coordinated behind the scenes, your internet needs to work. The question…
Venue internet quotes can shock you. What looked like a reasonable event budget suddenly includes four figures just for WiFi. The good news is that you have more control over event WiFi costs than venues…
Technology failures happen. Even with perfect planning, WiFi can drop during your event. The difference between a minor hiccup and a major disaster comes down to preparation. Here’s how to build a network outage contingency…